
How to Start Illustrating: Drawing Tips for Beginners

If you’re just starting out with illustration, there’s a lot to take in.
You might be figuring out which tools to use, how to improve your drawing skills, what kind of work you enjoy making, or whether illustration is something you eventually want to pursue professionally.
You don’t need to work all of that out straight away.
The best place to start is simply by drawing regularly, experimenting with different approaches, and paying attention to what you enjoy.
Here are a few practical ways to build your skills without putting too much pressure on yourself.
1. Start with doodles
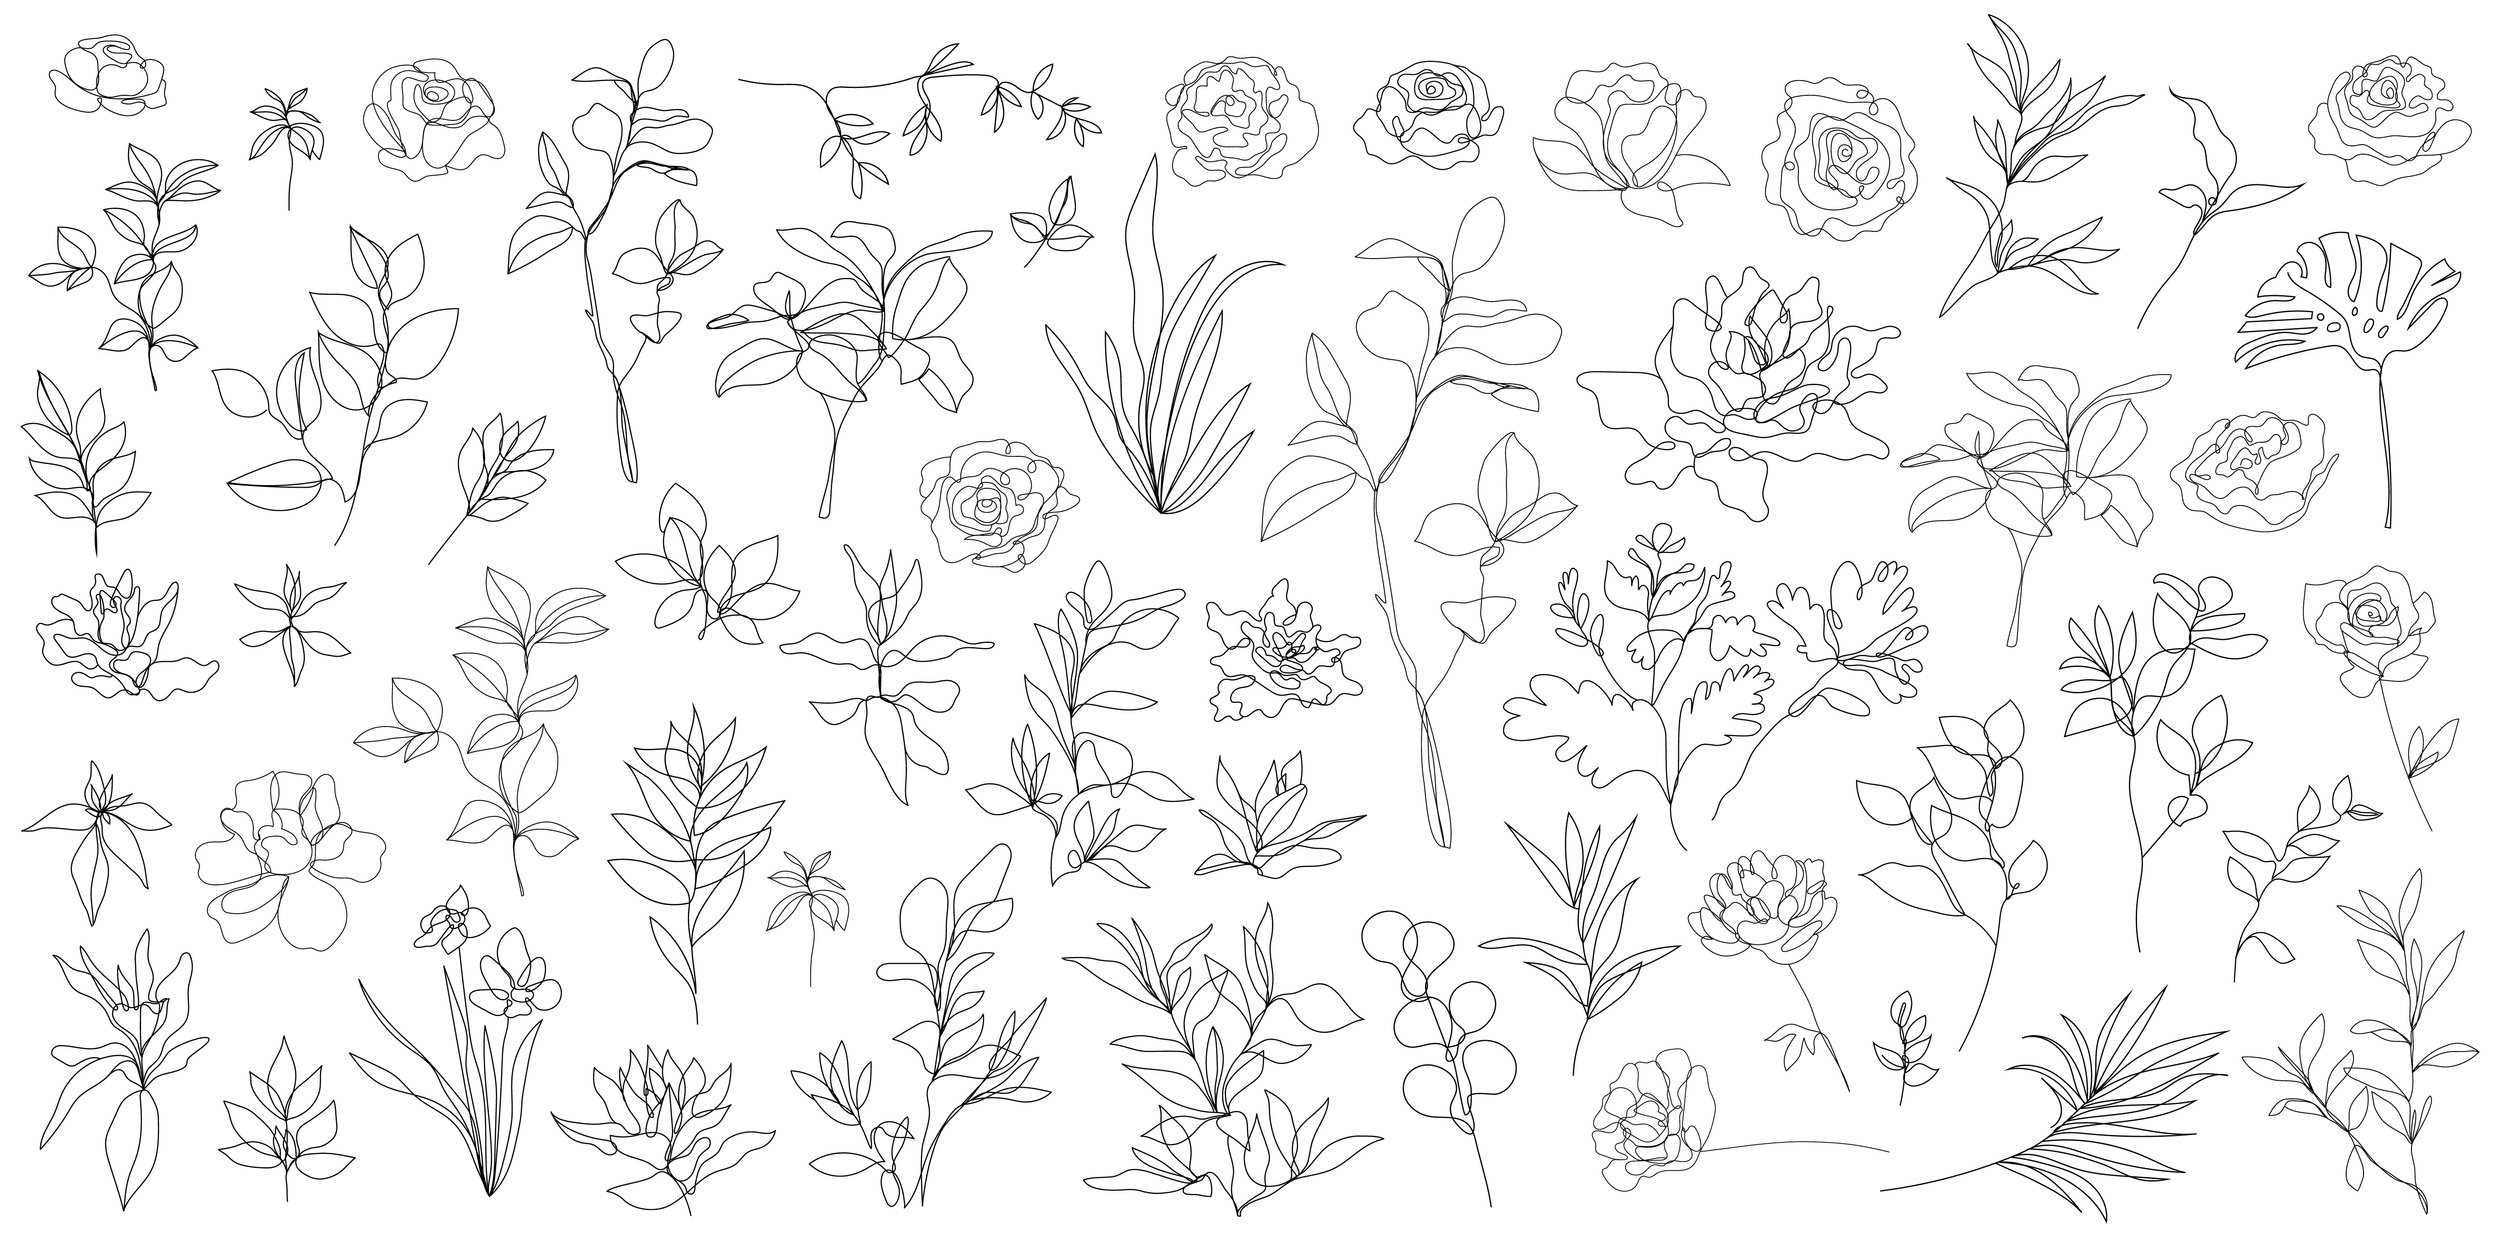
Doodling is a simple way to get into the habit of drawing without worrying too much about the outcome.
Sketch shapes, faces, objects, patterns, characters, anything that comes to mind.
The point isn’t to make something polished. It’s to get comfortable putting marks on the page and letting ideas develop without overthinking them.
This kind of low-pressure drawing is also a useful way to warm up your hand and build confidence.
2. Play with line Work

Line can completely change the feel of an illustration.
Try experimenting with thick and thin lines, loose sketchy marks, clean outlines, continuous line drawings, cross-hatching or scribbled textures.
You might find that certain types of line feel more natural to you than others.
It’s also a good way to start noticing how much expression you can create without relying on colour or detail.
3. Explore colour with intention
Colour can completely shift the mood of an illustration.
Try working with bold palettes, muted colours, limited colour schemes or monochromatic combinations and notice how each one changes the feeling of the work.
You don’t need to understand every part of colour theory before you start experimenting.
A good way to learn is simply to test combinations, save palettes you like and pay attention to why certain colours work well together.
If you want to explore colour in more depth, you can also read my guide to mastering colour.
4. Break complex subjects into simple shapes

When something feels difficult to draw, simplify it.
Most subjects can be broken down into basic forms like circles, rectangles, triangles and cylinders.
A head might start as a circle. A torso might begin as a box. An animal could be built from a few overlapping shapes before you add any detail.
This makes proportion and structure much easier to understand, particularly when you’re drawing something unfamiliar.
5. Add texture for depth
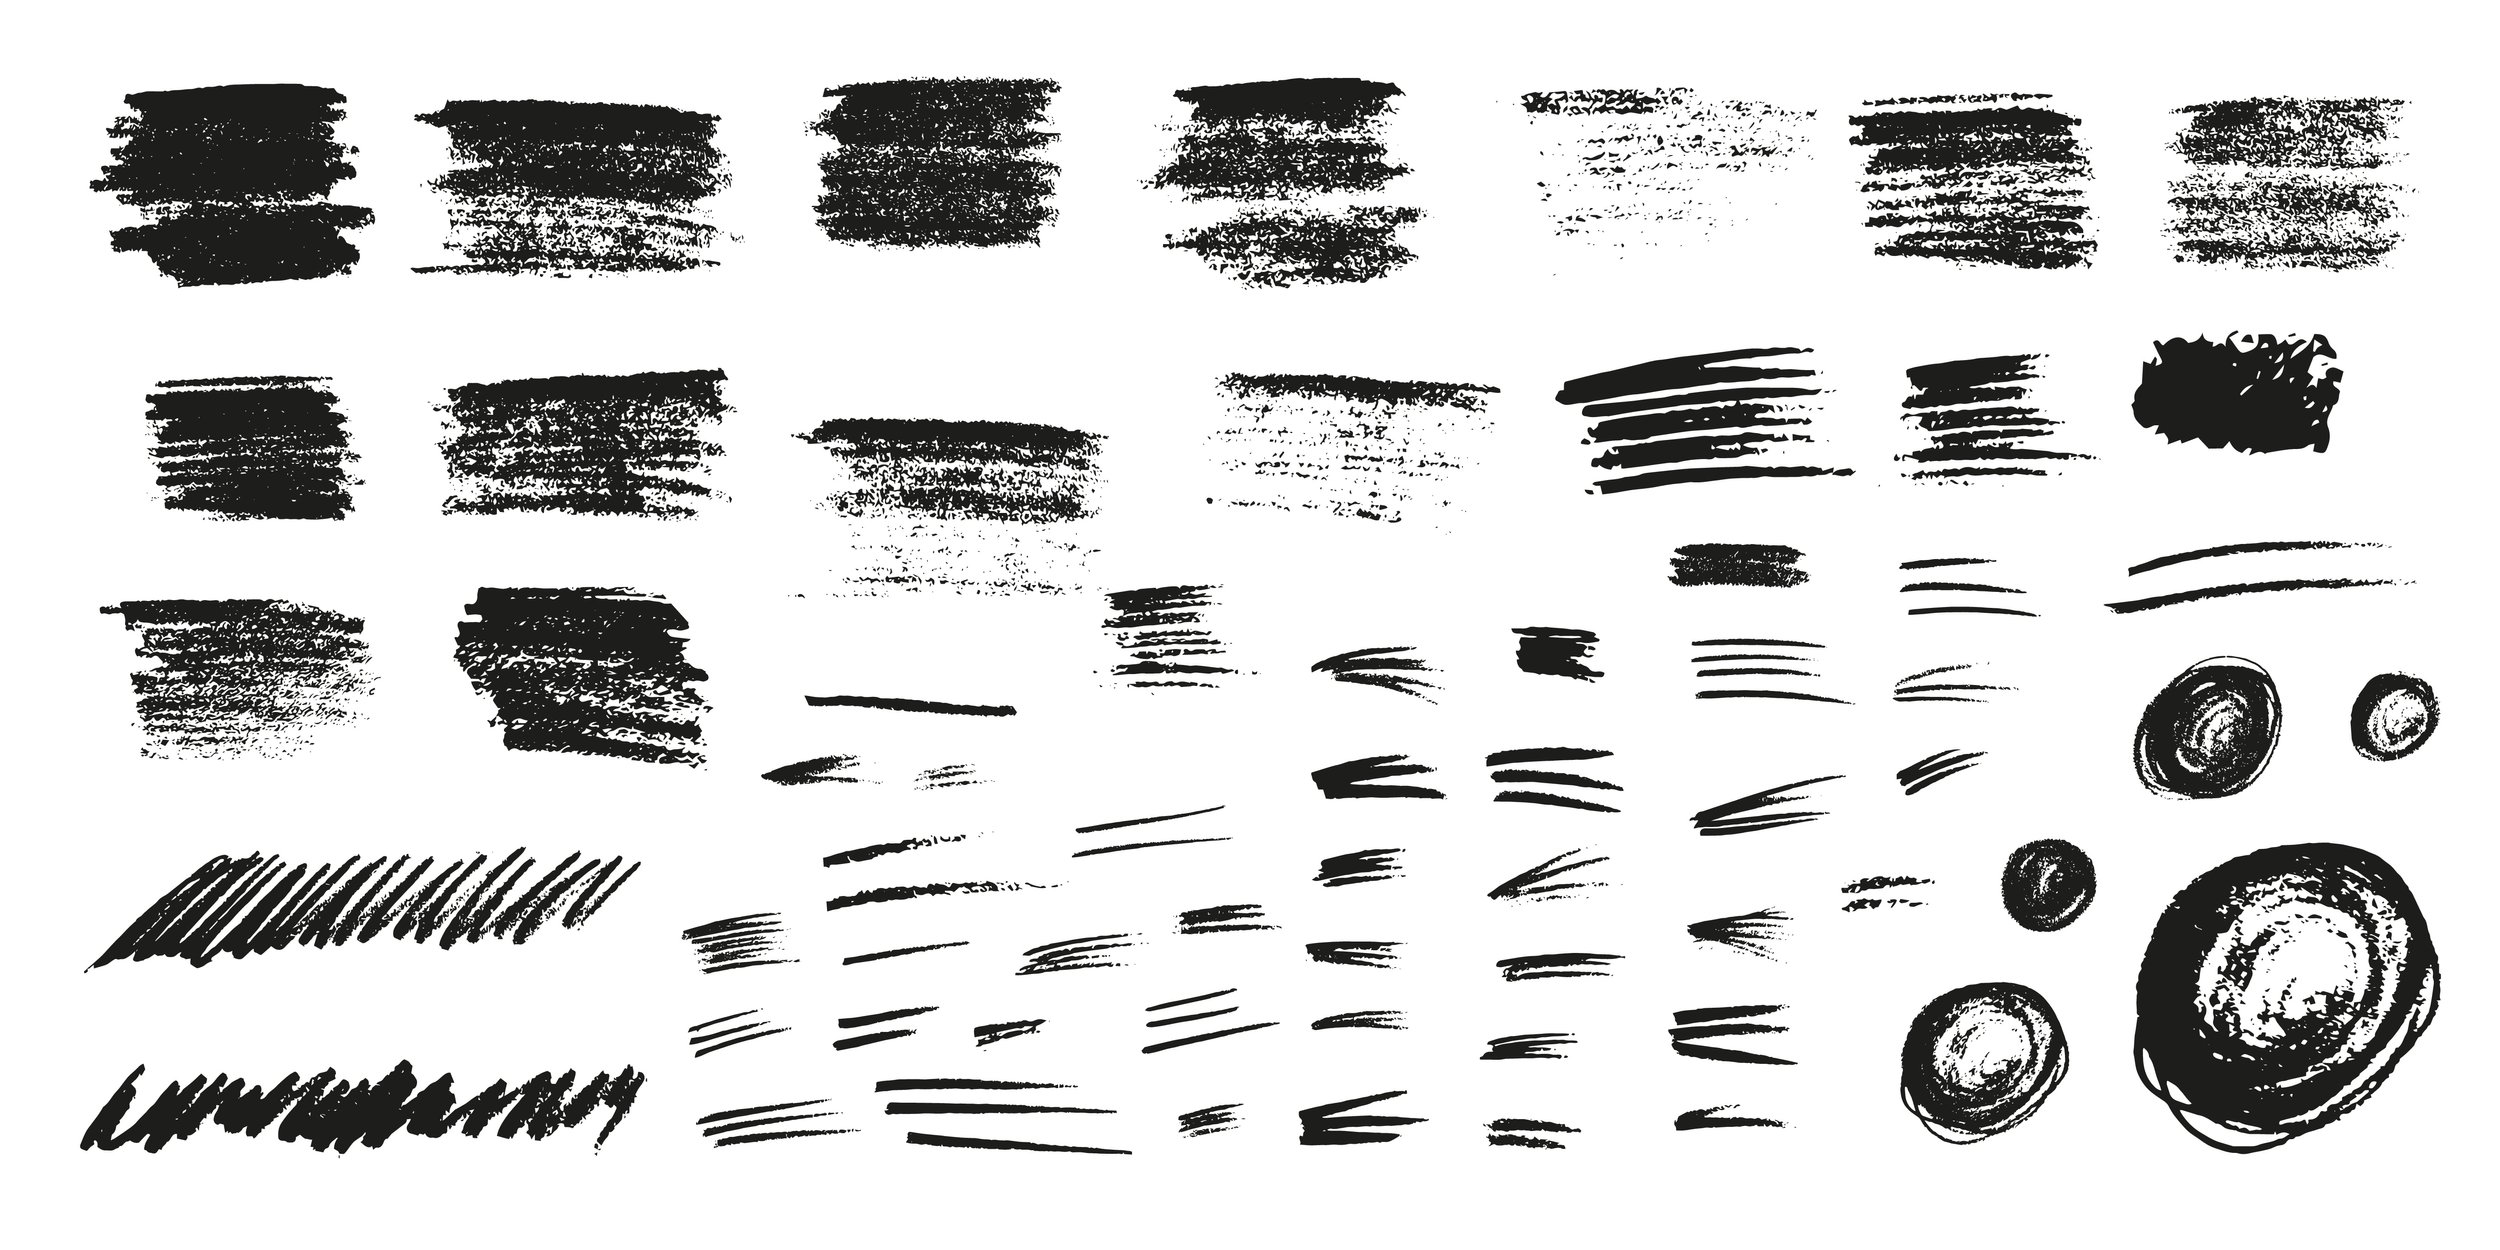
Texture can completely change the character of an illustration.
You might use rough pencil shading, grainy digital brushes, cross-hatching, painted marks or subtle overlays.
Try a few different approaches and see how they affect the finished piece.
Some styles suit very clean surfaces, while others feel much more interesting with visible texture and variation.
6. Pay attention to light and shadow
Even a basic understanding of light and shadow can make a big difference.
Start by thinking about where the light is coming from.
Which parts of your subject would be brightest? Which parts would fall into shadow?
Practice with simple forms like spheres, cubes and cylinders before moving on to more complex subjects.
You don’t need photorealistic shading. Even simple value changes can help create depth and make an illustration feel more dimensional.
7. Give your characters personality

If you enjoy drawing people or characters, focus on more than just getting the anatomy right.
Expression, posture, gesture and small details can tell you a lot about who a character is.
Ask yourself:
What are they feeling?
What are they doing?
How are they standing?
What little details could make them feel more specific?
A character doesn’t need to be complex to feel memorable.
8. Don’t ignore the background
Backgrounds don’t need to be elaborate, but they can add a lot to an illustration.
They help create context, establish mood and support the story you’re trying to tell.
That might mean a full environment, a few simple objects, a block of colour or even a subtle gradient.
Think about what the background needs to do, rather than adding detail for the sake of it.
9. Try different perspectives

If your drawings are starting to feel a little static, change the viewpoint.
Try drawing from above, below, close up, from a distance or at an unusual angle.
Perspective can make an illustration feel much more dynamic and give you new ways to frame a subject.
It can feel awkward at first, which is normal. The more you practice, the easier it becomes to understand how forms change from different viewpoints.
10. Keep drawing
The most important thing is consistency.
You don’t need to draw every day, but you do need to keep making things.
Follow illustrators you admire. Look closely at how they use shape, colour, composition and line. Experiment with techniques you haven’t tried before. Make personal work that doesn’t need to be useful or commercially viable.
Over time, you’ll start to notice what you naturally return to.
That’s often where your own visual style begins.
Tools to help you get started
You don’t need an expensive setup to start illustrating.
Use what you already have, then upgrade when you know what kind of tools you actually enjoy working with.
For Traditional Drawing
Prina 76 Pack Drawing Set Sketching Kit – A broad starter set if you want to experiment with different pencils and drawing materials without buying everything separately.
Tombow Dual Brush Pens – A versatile option for experimenting with line weight, colour and lettering. The flexible brush tip takes a little practice, but they’re useful for a wide range of illustration styles.
Moleskine Art Sketchbook – A reliable sketchbook with good-quality paper for pencils, pens and light washes.
If you want something a little more affordable or a larger working surface, Artisto sketchbooks can also be a good option.
For Digital Illustration
iPad + Apple Pencil – A flexible and portable setup, particularly when paired with Procreate.
Wacom Intuos Tablet – A solid entry-level option if you prefer working on a desktop computer.
Drawing Software
Procreate – Simple to learn, but powerful enough to use professionally. A great option for iPad users
Adobe Fresco – Useful if you want access to both vector and raster brushes in the same app.
Clip Studio Paint – A strong option for illustrators who want more control over drawing tools, particularly for comics, character work and detailed line art.
Tip: Start with what you have. The best tool is the one you actually enjoy using.
Keep drawing and let your style develop
Starting with illustration doesn’t need to mean mastering every technique, buying all the right tools or figuring out your style straight away.
The most useful thing you can do is keep making things.
Experiment with materials. Draw subjects you enjoy. Try techniques that feel unfamiliar. Save work that inspires you and pay attention to what you’re naturally drawn towards.
Over time, you’ll start noticing patterns in the way you use colour, shape, line and texture.
That’s often how a visual style begins to emerge. Not because you sat down and decided exactly what it should look like, but because you kept creating.
Start with what you have, stay curious and give yourself permission to make work that isn’t perfect yet.
More practical help for your creative business
Explore guides, templates, tools and free resources for designers and illustrators who want more clarity around clients, pricing, portfolios and running their business.

Stay in the loop
Subscribe to my newsletter for thoughtful insights, practical advice, and useful resources for building a sustainable creative business.